Step 1:
Connect the battery to the battery snap first and insert it into
the pedal the same as you would when you actually use the
pedal. This will make it easier to reference how long to make
the wires. Twist the red and black snap wires together. MYTH:
twisting your battery wires together reduces hum. Not so. This
probably trickled down from the amp building world where you
twist the heater wires together. Twisting your battery wires
together simple makes the inside of your pedal look neater.
Measure enough red wire so that the snap can connect to the
SLEEVE of the IN JACK and still have enough slack so that you
can change the battery without having to tug on the wires too
hard. Strip 3mm off the end of the red wire and solder it to the
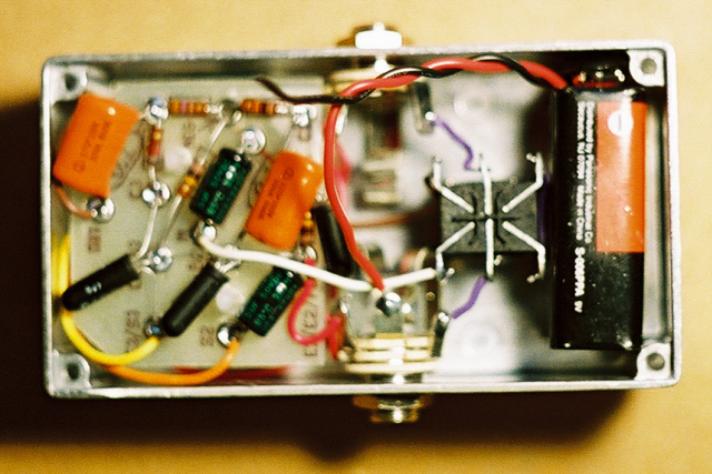
SLEEVE of the IN JACK. Your pedal should look like the picture
below when you are finished with step 1. JUST ONE MORE
STEP TO GO!
Step 2:
Trim the black battery snap wire to the proper length to reach the NEG eyelet of the circuit board and strip
3mm off of the end. Insert the stripped end of the black wire and then negative end of the 50uF capacitor
into the NEG eyelet of the circuit board where they meet the 10K, 100K, and 470ohm resistors and solder.
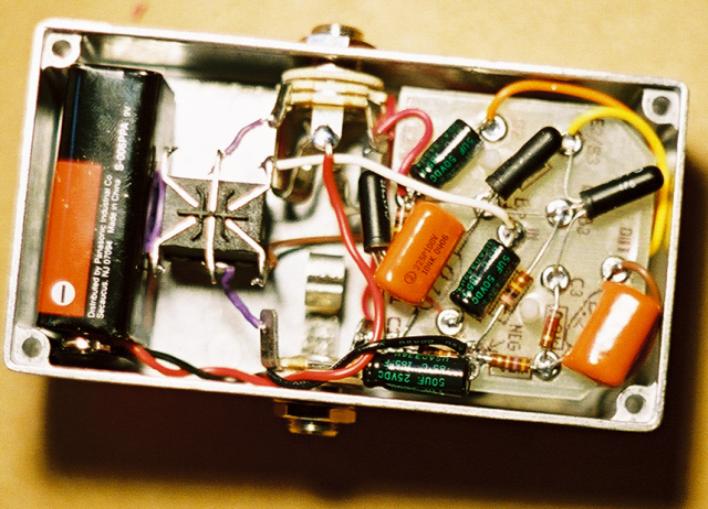
After that solder the positive end of the 50uF capacitor to the RING of the OUT JACK. Your pedal should
look like the picture below when you are finished with step 2.
Congratulations! You are now finished with your Tonebender Clone! Read the section on
finishing touches and trouble shooting if you should need it.