NOTE: This portion of the instructions is the same for both the FuzzFace clone and
the Tonebender clone.
Step 1:
Install the foot switch. You'll need a 14 millimeter wrench for
this step.
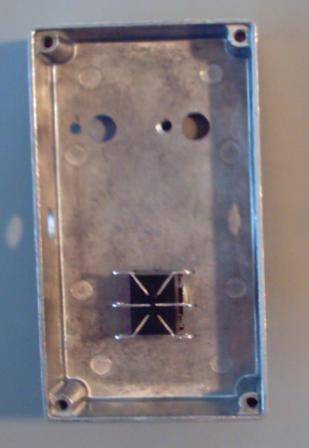
Insert the footswitch just like the picture above, so that the
solder lugs are "3 on each side" or "2 columns of 3". You do
not want "3 on the top and 3 on the bottom" or "2 rows of 3".
Another way to look at it is that the solder lugs form an "X" with
a line through it. You want to position the footswitch so that
the line through the "X" is running horizontally, not vertically.
Step 2:
Install the 1/4" jacks. You will need a 1/2" wrench for this.
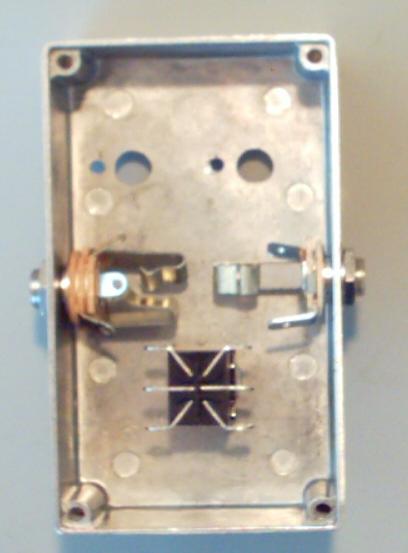
Install the 1/4" jacks so that they are like the picture above. The
jack with 3 solder lugs (stereo) is the "IN" jack and the jack with 2
solder lugs (mono) is the "OUT" jack. If you are looking down on
the inside of the enclosure, as in the picture above, the "IN" jack
should be on the left hand side, and the "OUT" jack should be on
the right hand side.
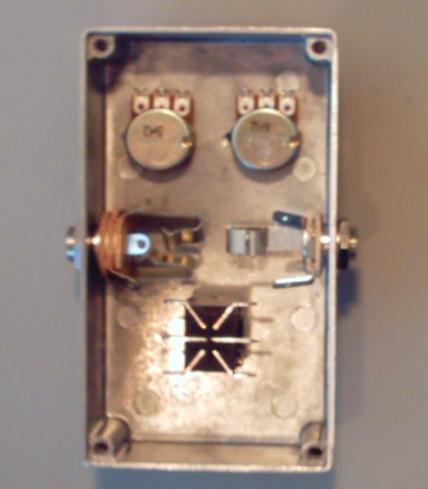
Step 3:
Install the potentiometers. You will need an 11mm wrench for this.
This is the end of the Assembly Process. Click here to
continue on to the Wiring Process.